When Primer for Previously Painted Walls Helps
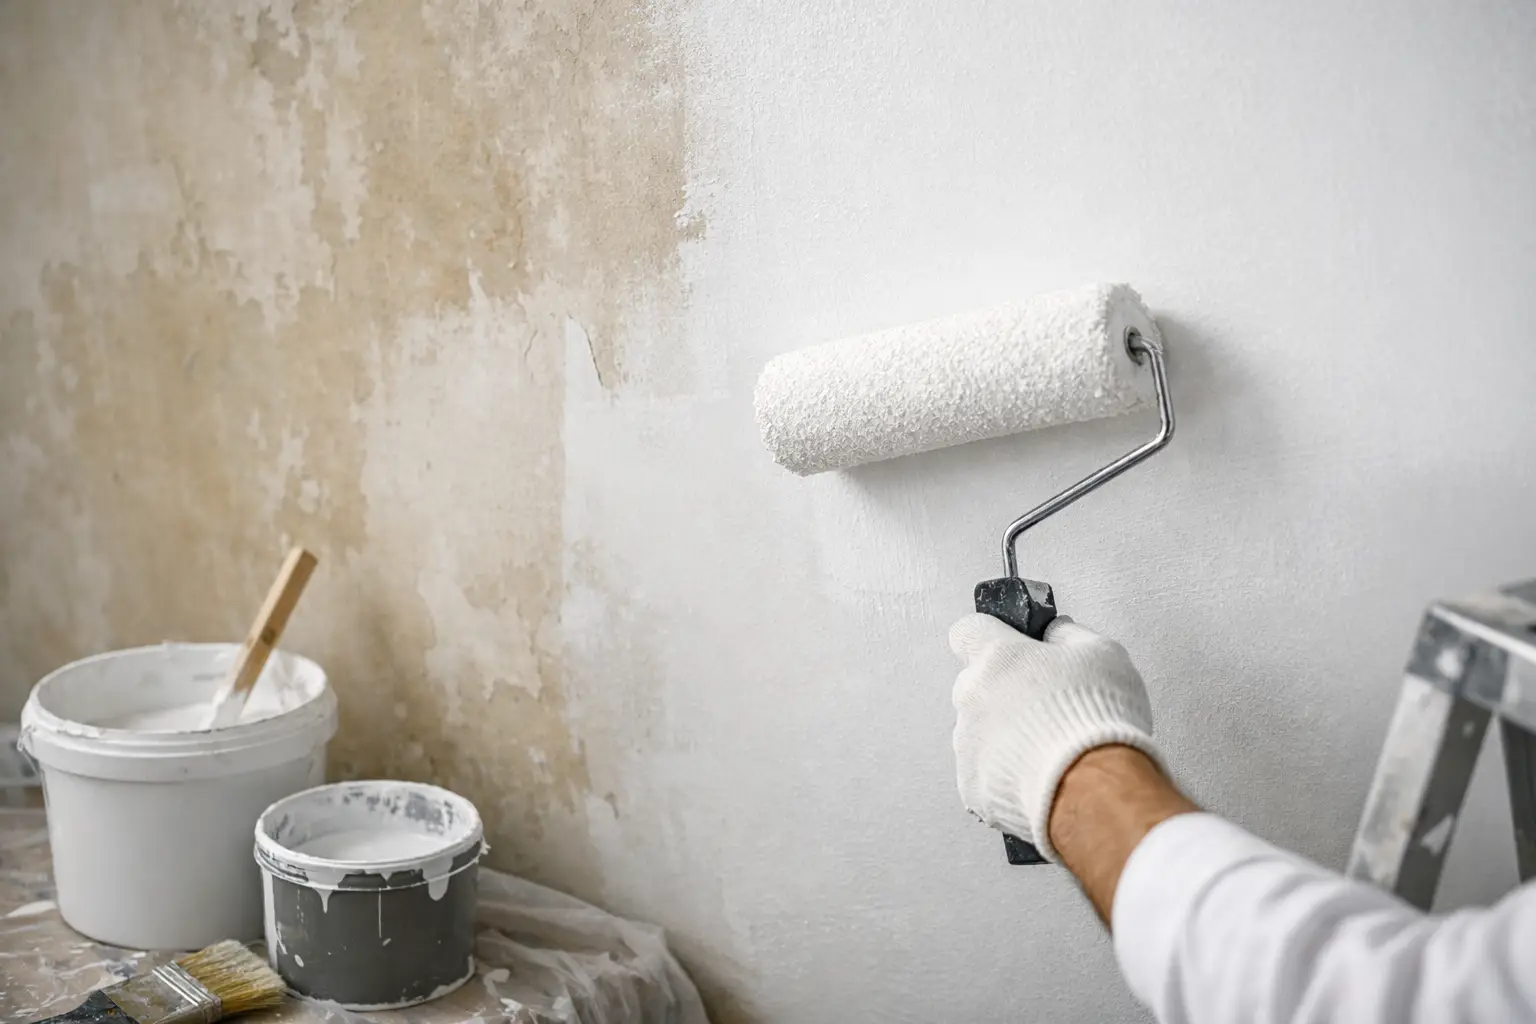
A wall can look clean, feel solid, and still cause a new paint job to fail. That is why choosing a primer for previously painted walls is not simply a matter of adding another coat. The right primer can help paint bond, block stains, even out repairs, and produce a finish that looks consistent from one wall to the next. The wrong choice can add unnecessary cost and time without improving the result.
For homeowners and businesses in the South Puget Sound area, moisture, everyday wear, old repairs, and changing paint colors can all affect what a wall needs before painting begins. A professional painter starts by looking at the existing surface, not by assuming every wall gets the same treatment.
Do Previously Painted Walls Always Need Primer?
No. If an interior wall is in good condition, has a sound coat of paint, and is being repainted in a similar color and sheen, primer may not be necessary. After cleaning and light sanding, a quality paint-and-primer product or two proper finish coats can often provide excellent coverage.
But good-looking paint is not always well-bonded paint. Walls may have years of cooking residue, hand oils, smoke film, cleaning-product buildup, or moisture exposure. They may also have glossy paint that new paint cannot grip well. Primer is valuable when it solves a specific surface problem, rather than being applied out of habit.
The condition of the wall matters more than its age. A ten-year-old wall with stable paint may need less preparation than a newer wall that has been patched repeatedly or painted with a slick, washable finish.
When to Use Primer for Previously Painted Walls
Primer is often the right call when the old surface could interfere with adhesion, coverage, or the final appearance. It creates a more uniform base so the finish paint can do its job.
The Existing Paint Is Glossy or Slick
Semi-gloss and gloss paints are common in kitchens, bathrooms, trim areas, and commercial spaces because they are easy to clean. They are also less porous than flat paint. New paint may bead up, drag during application, or peel later if applied directly over a slick finish.
A thorough cleaning and sanding can reduce that risk. In many cases, a bonding primer provides an added layer of insurance, especially when changing from a glossy finish to a flatter sheen. The wall should still be dulled and cleaned first. Primer is not a substitute for removing surface contamination.
You Are Painting Over Stains
Water marks, nicotine, crayon, grease, tannin stains, and marker can bleed through a fresh coat of paint. Adding more wall paint may temporarily hide the stain, but it often comes back as the coating dries or ages.
A stain-blocking primer is designed for this situation. The correct product depends on the stain. Water damage may point to an active leak or moisture issue that needs repair before painting. Smoke and nicotine residue need serious cleaning before primer is applied. If the underlying problem remains, even a high-quality coating will not deliver a lasting result.
Drywall Repairs and Texture Matching Are Visible
Fresh drywall compound absorbs paint differently from the painted wall around it. Without primer, repaired areas can flash, meaning they look duller, shinier, or slightly different than the surrounding surface when light hits them.
Spot-priming small repairs is usually enough when the rest of the wall is sound. If there are many patches, extensive skim coating, new drywall sections, or texture repairs across the room, priming the full wall often creates a more even finish. This is especially noticeable in hallways, living rooms, and offices with strong window light.
The Old Paint Is Peeling, Chalking, or Failing
Primer will not hold failing paint in place. Loose or peeling material needs to be scraped, sanded, and repaired until the remaining surface is stable. If moisture caused the failure, the moisture source must be corrected first.
Once the surface is properly prepared, a suitable primer can help bridge the transition between bare areas and intact paint. For exterior surfaces, this step is particularly important in Pierce County, where rain and seasonal moisture can work into exposed wood, trim joints, and damaged siding.
You Are Making a Major Color Change
Painting a deep red, navy, charcoal, bright yellow, or other intense color over a light wall can take several finish coats without the right base. The same is true when covering a very dark color with white or another pale shade.
A tinted primer can improve coverage and reduce the number of finish coats needed. It does not always eliminate the need for two coats of paint, but it can make the color change more predictable. The paint manufacturer’s recommended primer tint is usually the best starting point.
Choosing the Right Primer Matters
Not all primers handle the same job. Using a general wall primer over a stubborn stain may allow bleed-through. Using a stain blocker where a bonding primer is needed may leave adhesion concerns unresolved. A proper recommendation begins with identifying what is on the wall and why it needs attention.
Water-based acrylic primers are commonly used for clean, previously painted drywall because they dry quickly, have lower odor, and work well under many interior latex paints. Bonding primers are useful over difficult glossy surfaces, old oil-based coatings, laminate, and other hard-to-grip finishes.
Shellac- or oil-based stain-blocking primers can be a better choice for severe water marks, smoke, nicotine, and wood tannins. These products are effective, but they can have stronger odors and require more careful ventilation and cleanup. That trade-off may be worth it when a stain has already returned through ordinary paint.
For exterior wood, exposed bare areas should receive a primer appropriate for the wood species and the coating system. Paint on the exterior is part of the property’s protective barrier. Skipping preparation on weathered trim or repaired siding can lead to early peeling and moisture damage.
Preparation Comes Before Primer
A primer only performs as well as the surface beneath it. This is where many do-it-yourself projects lose time and money. Applying primer over dust, grease, mildew, loose paint, or damp drywall does not create a durable paint system.
Walls should be cleaned with an appropriate cleaner, rinsed when required, and allowed to dry completely. Glossy areas need sanding or deglossing. Nail holes, dents, cracks, and damaged drywall should be repaired and sanded smooth. Any signs of mold, recurring water stains, or soft drywall deserve further investigation before coating begins.
On exterior surfaces, preparation may also include pressure washing, wood-rot repair, caulking, scraping, and spot priming bare wood. Each step supports the next one. The visible color is only the final layer of a preparation process that protects the property and improves the finished appearance.
Spot Prime or Prime the Whole Wall?
Spot priming is practical for a few small drywall patches, minor stains, or isolated bare areas. It saves material and works well when the existing paint is uniform and well bonded.
Full-wall priming is usually the better choice when there are multiple repairs, widespread stains, uneven sheen, a major color change, or a questionable existing coating. It can also be worthwhile in high-visibility rooms where uneven absorption would be obvious. A full prime coat creates a consistent foundation, which helps the final paint look smoother and more uniform.
The decision is not about selling more material. It is about avoiding a finish that looks patched, flashes under light, or needs repainting sooner than expected.
When a Professional Assessment Saves Work
Some walls reveal more than a paint problem. Repeated stains can indicate a plumbing or roof issue. Peeling near windows may point to moisture intrusion. Cracking can signal movement, while soft areas may require drywall replacement rather than filler and paint.
K&D Quality Painting evaluates the surface condition before recommending coatings, repairs, or primer. With more than 30 years of experience, the team can address drywall damage, texture matching, wood repairs, and surface preparation as part of the painting work instead of covering a problem and hoping it stays hidden.
If you are unsure whether your walls need primer, request a free estimate before buying paint. A quick look at the existing finish, repairs, stains, and room conditions can help you choose a paint system that looks right on day one and keeps performing long after the brushes and drop cloths are gone.