Popcorn Ceiling Removal Cost in Pierce County
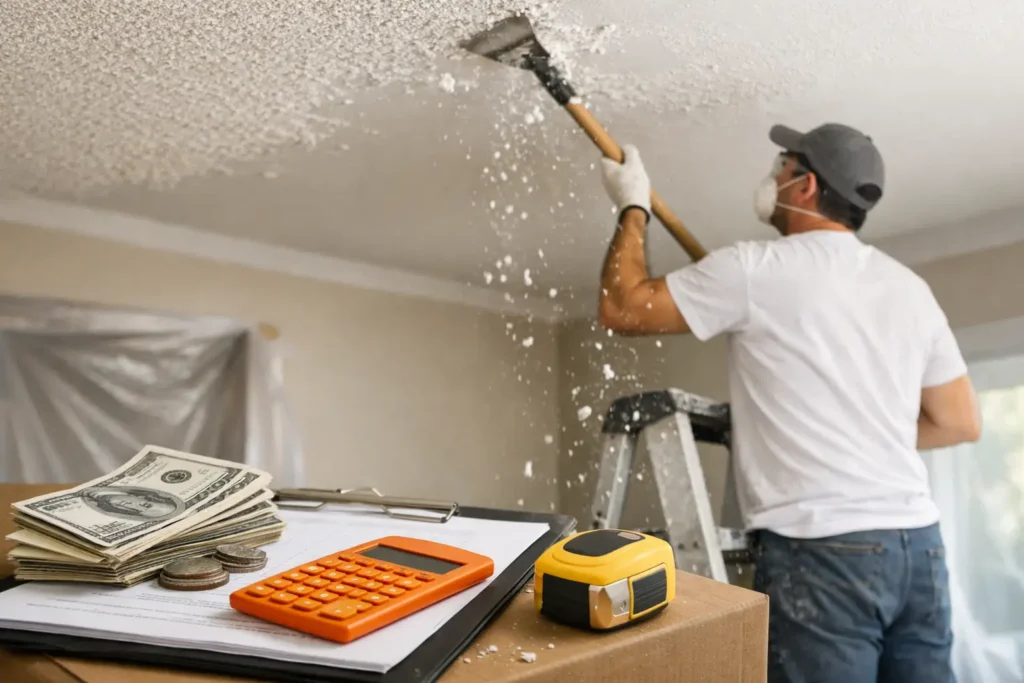
A dated popcorn ceiling can make an otherwise well-kept room feel darker, older, and harder to update. The popcorn ceiling removal cost depends on much more than the room’s square footage. Ceiling condition, testing requirements, access, repairs, and the finish you want afterward all affect the scope of the work.
For homeowners in Pierce County and the South Puget Sound area, the right question is not simply, “What is the lowest price?” It is, “What work does this ceiling need to look clean, smooth, and finished correctly?” A clear estimate should answer that question before anyone begins scraping.
What Affects Popcorn Ceiling Removal Cost?
Most professional popcorn ceiling removal projects are priced by square foot, but a per-square-foot number only tells part of the story. A small room with heavy repairs, furniture to protect, and multiple layers of coating can require more labor than a larger open room in good condition.
In many cases, a straightforward removal and refinish project may fall in the range of a few dollars per square foot. Projects involving testing, difficult access, damaged drywall, extensive preparation, or a higher-level smooth finish can cost more. A professional site visit is the best way to get a useful number because the ceiling itself needs to be inspected.
Ceiling Size and Room Layout
Larger ceilings require more labor, materials, containment, and cleanup, but room layout matters just as much. An open living room is generally easier to work in than a room with high vaulted ceilings, tight stairwells, built-in cabinetry, or a large amount of furniture that must be covered and moved.
Ceilings above staircases and rooms with limited access often need additional setup for safe, stable work. Those details should be included in the estimate rather than becoming a surprise after the project starts.
The Existing Texture and Paint Layers
Some popcorn texture comes off relatively cleanly after proper wetting and careful scraping. Other ceilings have been painted over one or more times. Paint can seal the texture and make removal slower, more difficult, and more likely to pull at the drywall surface underneath.
A ceiling may also have patchwork from old leaks, previous repairs, or loose joint tape. Scraping exposes those weak areas. This does not mean removal is the wrong choice. It means the project should allow for drywall repair and surface preparation before the new finish is applied.
Asbestos Testing and Safe Planning
Many older homes have textured ceilings installed before asbestos use was restricted. You cannot identify asbestos by looking at a ceiling, and scraping a material that has not been tested is not a responsible approach.
If a ceiling may contain asbestos, testing should be addressed before removal work is scheduled. If testing identifies asbestos-containing material, removal needs to follow the appropriate procedures through qualified abatement professionals. The cost for testing or abatement is separate from ordinary texture removal, but it protects the people in the home and prevents a far more serious problem.
The Finish You Choose After Removal
Removing texture is only the middle of the job. Once the popcorn is gone, the ceiling needs to be repaired, sanded, primed, and finished. The final appearance depends on the level of preparation completed before paint goes on.
A light orange-peel or knockdown texture can be a practical choice when a homeowner wants a fresh, updated ceiling without pursuing a perfectly smooth surface. It can help blend minor irregularities while still looking clean and modern.
A smooth ceiling creates a crisp, contemporary look, especially in rooms with good natural light. It also demands more careful drywall finishing. Smooth surfaces show ridges, seams, patches, and poor sanding more easily than textured ones. That added labor is often one of the biggest reasons one removal estimate may be higher than another.
For a ceiling that has stains from past moisture damage, proper priming is also essential. A quality stain-blocking primer helps keep old water marks from bleeding through a new coat of ceiling paint. Simply applying paint over a stained or repaired area may look acceptable at first, then show discoloration later.
What Should Be Included in a Professional Estimate?
A dependable estimate should describe the work, not just provide a total. Homeowners deserve to know whether the price includes protection for floors and furnishings, removal of the existing texture, drywall repairs, sanding, primer, paint, cleanup, and disposal.
Ask how the contractor plans to contain dust and protect nearby surfaces. Even when wet scraping is used to reduce airborne dust, ceiling work is messy. Proper masking, floor protection, and cleanup keep the project from spreading into the rest of the home.
It is also reasonable to ask whether the estimate includes minor repairs or whether repairs are priced separately after the texture is removed. Some conditions cannot be fully seen until the ceiling is exposed. A contractor should explain that possibility clearly and communicate before moving forward with additional work.
Why the Lowest Bid Can Cost More Later
A low price can be appealing, particularly when the project appears simple from the floor. But popcorn ceiling removal is one of those jobs where skipped preparation is easy to spot after the room is painted.
Poorly repaired seams can crack. Inadequate sanding can leave visible lines across the ceiling. Unprimed stains can return through fresh paint. Dust left in light fixtures, vents, and trim can create unnecessary cleanup long after the crew has left.
The goal is not to pay for work that does not need to be done. It is to pay for the preparation that gives the finish a chance to last. Experienced painters look beyond the texture itself and address the drywall, stains, seams, and damaged areas that affect the final result.
Can You Remove a Popcorn Ceiling Yourself?
Some homeowners consider do-it-yourself removal to reduce popcorn ceiling removal cost. For a newer ceiling that has been tested, a small empty room, and a homeowner comfortable with drywall repair, it may be manageable. The work still requires patience, proper protection, careful moisture control, and time for drying, sanding, priming, and painting.
The trade-off is that the actual scraping is often easier than making the ceiling look finished afterward. It is common to uncover gouges, loose tape, nail pops, or uneven patches that need skilled repair. Over-wetting can damage drywall paper, while under-wetting makes scraping more difficult and creates extra dust.
Professional removal is often the better value when the ceiling covers several rooms, has visible damage, has been painted, or needs a smooth finish. It can also make sense when the project is part of a larger interior painting update, since walls, trim, and ceilings can be prepared and finished as one coordinated job.
Planning Your Ceiling Update
Before requesting an estimate, take note of the rooms involved, ceiling heights, visible stains or cracks, and whether the home was built during a period that may require asbestos testing. Decide whether you prefer a smooth ceiling or a light texture, and consider whether the walls and trim should be painted at the same time.
A local contractor can walk the space with you, identify surface issues, explain the finish options, and provide a scope that matches your goals. K&D Quality Painting approaches popcorn ceiling projects with the same attention given to drywall repair, primer selection, and final paint work: prepare the surface correctly so the finished room looks right.
A clean ceiling can change the feel of a home more than most owners expect. Start with a free estimate that accounts for the actual condition of your ceiling, then choose the level of preparation and finish that will make the update worth doing.